Homemade Grape Wine Recipe - Red/Blue Grapes
What could be better than to be locked down due to the COVID-19 pandemic just when the blue grapes or red grapes, as I call them, filled the markets.
Generally, the best quality of grapes is exported or land up in some swanky grocery store but this time I managed to get some for me. And while I debated between grape wine or grape jam or every simpler grapes juice, I landed up making grape wine with the entire lot of them. Sharing my recipe of homemade grapes wine, which is easy to make, and refreshing. Even someone who hasn't ever made homemade wine can try it out.
Ok, for starts I like my grape wine sweet and flavoured. You can avoid some of the ingredients I am sharing below if you would like simple wine. Although the flavours can be refreshing, but then everyone has a different pallet. And second I like my wine a bit thick and fruity.
Recipe
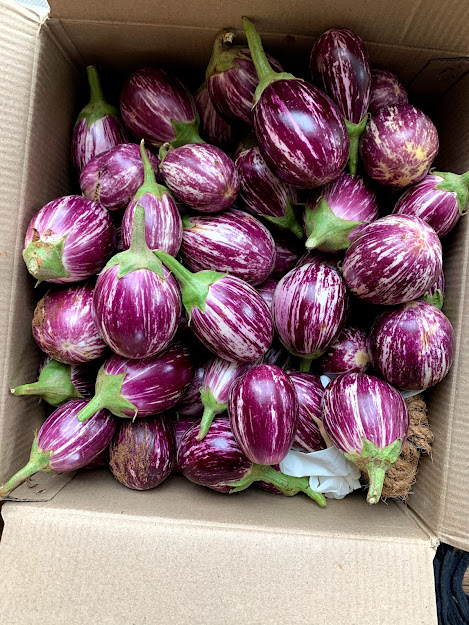
1kg blue/red grapes
1kg sugar
1/4 tp dry yeast
2 litres of water ( you can take 1 1/2 of water if you want your wine thicker)
2pods of cardamom (Avoid if you don't want any flavour )
1inch stick of cinnamon (Avoid if you don't want added flavour )
Tools
Jar to hold the wine
Muslin cloth for straining
Time
Prep time: 1/2 hour
Fermentation: Min 21 days
Method
Fermentaion Stage one
Un-bunch all the grapes. Basically, remove them from their pedicle. Wash them well to remove traces of chemicals. Now boil water in a big vessel and sock the grapes in it for a few minutes. Gently rub the grapes to remove traces of any chemical residue. You don't want disinfectants to contaminate your wine.
Drain the water from the grapes. Boil 2 litres of water and allow to cool. Crush the grapes with your hands or if you have a crusher. Don't put it in a mixy or blender. That will ruin the taste of the wine as the seeds will also get crushed.
Once the water has cooled down add the grapes, sugar, cardamom, cinnamon, yeast and the cooled down water into the jar. Mix once and shut the lid.
Now let your jar sit in a cool dark place for it to ferment in peace. You will need to, over the next few days continue to release the CO2 gas that gets formed as the fermentation process proceeds. So open the jar every day and give it one stir.
This is my DIY winemaking bottle that allows access gas to escape while having an airlock. Will share on how to make this in another blog.
Fermentation Stage 2
After about 14 days we need to strain the liquid. Take a muslin cloth and pour the fermented liquid through it. Squeeze the grapes so that all the juice gets strained. Do ensure no yeast passes into the strained liquid.
Pour the liquid into an airtight jar or bottle and let it stand undisturbed for at least another 10 days. This would allow the secondary fermentation to happen and any particles would settle to the bottom.
Tips: More sugar would mean more alcohol. Yeast breaks down sugar and gives out alcohol but don't overdo it :)
If at the end of the first fermentation stage you find the wine very dry, which means hardly any sweetness you can add 1/2 cup of sugar before the second stage of fermentation starts.
You can taste the wine as it proceeds so you would be able to taste the flavours as the liquid changes from fruity to acidic and alcoholic